Want a faster start to this year’s swim season? Learn 10 things to do before opening your swimming pool that save you time and work
As you know, getting a pool ready for the swim season is a process. There’s water to balance, equipment to check, a deck to clean, and so on. So it’s no secret that opening your pool is a time-consuming job – fortunately, you only have to do it once a year.
But what if you could open it twice as fast? What if you could turn a 3-day job, into a one day job?
Well, you can, IF you do a few things before opening your swimming pool. Think of it as “prepping” your pool for the official opening.
By knocking out a few essential tasks, you’ll get some of the most time-consuming work out of the way early. That way, when you’re ready to officially open your pool, you’ll be swimming the same day.
So if you want to get a jump start on this year’s swim season, do these things before opening your swimming pool.
10 Things To Do Before Opening Your Swimming Pool
Test your filter pump
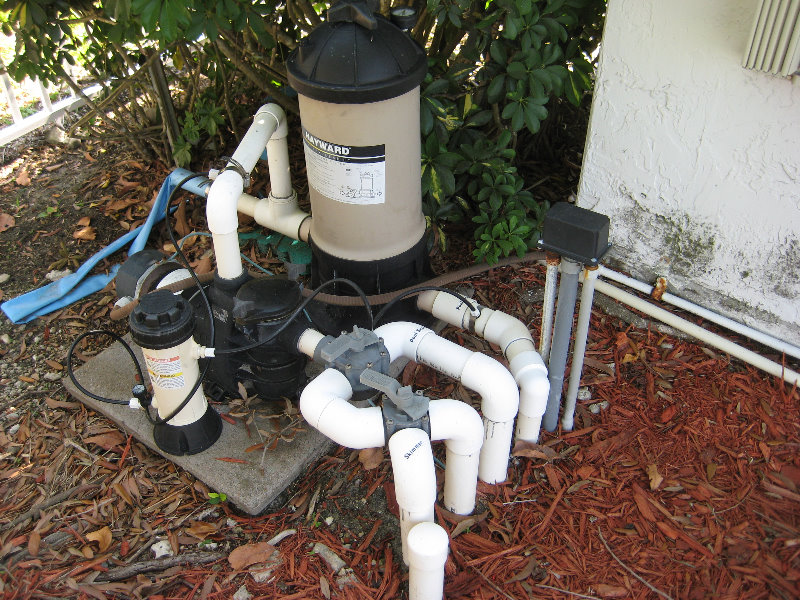


It’s funny how one of the most important parts of a swimming pool is so easy to forget about. Your loyal pool pump sits in the background, circulating hundreds of gallons of water each day.
Usually, we turn it on and forget about it. And for the most part, that’s all you really have to do.
But if your pool was closed, and it’s been awhile since water was flowing, testing your pool pump is a good idea.
And it’s especially important to test it before opening your pool. Why?
Because it’s better to find out now that your pump needs work than on the hottest day of the summer. Right when you’re craving to escape the heat the most. There’s nothing like a broken pool pump on a day like that.
Before testing your pump:
- Remove winter plugs from inside the pool
- Set multiport valves to FILTER
- If unattached, reattach the pump’s drain plug
- Replace pool pump basket
- If removed, replace your pool skimmer basket
Once you’ve done all that, power on your pool pump, and let it run for the next 30 minutes. Watch for any leaks or unusual behavior
If your pump doesn’t start right away, you may need to prime it. To prime your pump:
- Turn off the pump
- Unscrew the pump lid
- Pour in a 5-gallon bucket of pool water (a hose works too)
- Doing this fills the plumbing line from the pool skimmer to the pump, which helps to create better suction pressure
- Power on the pump
If your pump still doesn’t turn on your run into some issues, check out this Pool Pump Troubleshooting Guide.
Test your pool heater
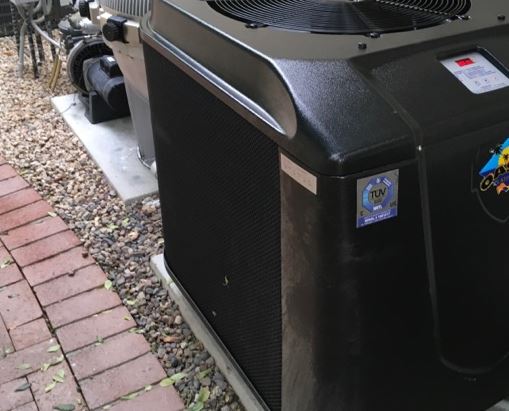


While your pump is running, walk over to your pool heater and power it on. Let’s assume you’re using a pool heat pump.
- Reattach the heater’s drain plug
- Set all valves to open
- Restore power to the heater from the breaker.
Once your heat pump is running:
- Check the starting pool temperature being displayed
- Set your target temperature 2 degrees higher than your pool’s current temp
- Wait 2-3 hours and check for an increase in temperature
- If the water warmed up, the heat pump is working as expected.
This is also a great time to do quick heater inspection. Take a few minutes to check that the vents are clear of debris, and that’s there’s no major damage to pump housing or display board.
If your pool heater won’t turn on, or you’re running into other heating problems (strange noises, power cycles, leaking), don’t worry. There are options
You can check out this Pool Heat Pump Troubleshooting Guide for more tips and solutions. Or you can fix your heater twice as fast with a pool heater troubleshooting tech.
Inspect your filter and PSI
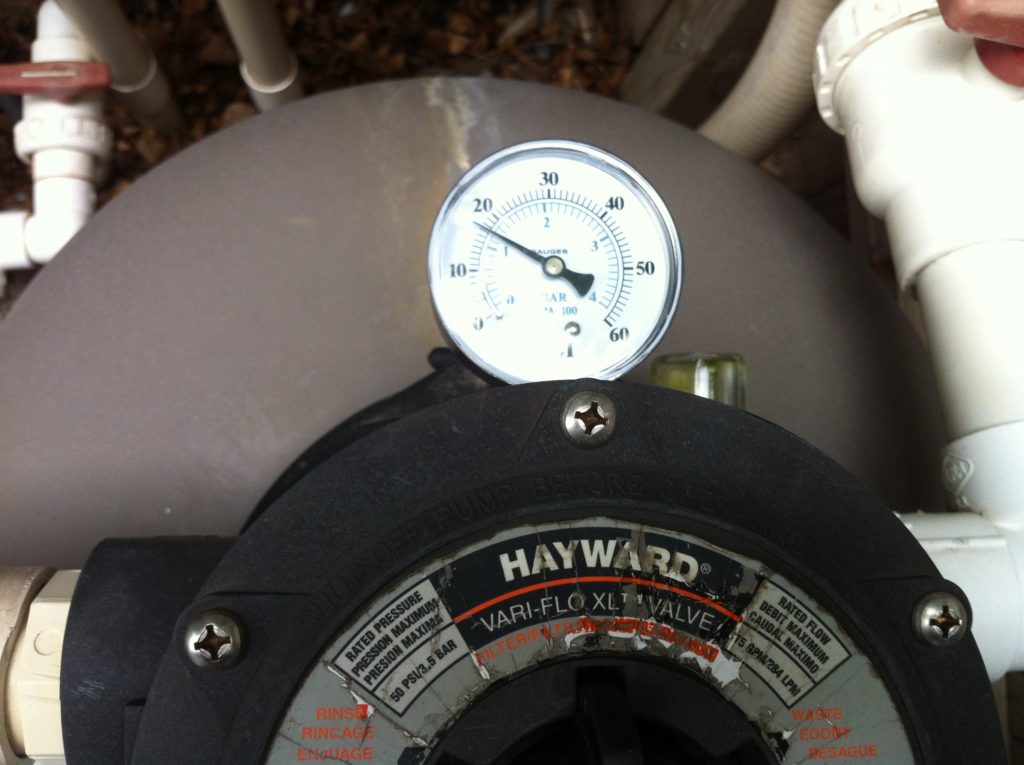


As your pool water warms up and circulates, take a look at what’s happening in the background.
First, check your pressure gauge. It should read close to whatever your clean reading is for your pool. For most people, this is between 5 and 15 psi.
If it’s oddly out of range, then your pump is overworking. And this is likely due to an issue with your filter.
To troubleshoot high PSI:
- Power down your pump.
- Relieve pressure in the filter by turning the pressure release valve counter-clockwise (water may spray out)
- Remove your filter’s drain plug
- Unscrew the filter lid/filter head
- Check the filter’s middle O-ring for wear (this is the biggest one)
- If the O-ring is worn out, stretched, or cracking, replace it
- Remove the filter media
- Sand filter: empty and replace the sand with fresh sand
- Cartridge filter: clean and rinse the cartridges first. If this solves the PSI problem, stop there. Otherwise, replace the cartridges.
- DE filter: clean and rinse the DE grids. If high-pressure issues persist, replace the DE grids
If none of the above solves your PSI issues, it’s best to contact a pool repair company, as the problem might involve plumbing.
Inspect your pool maintenance equipment
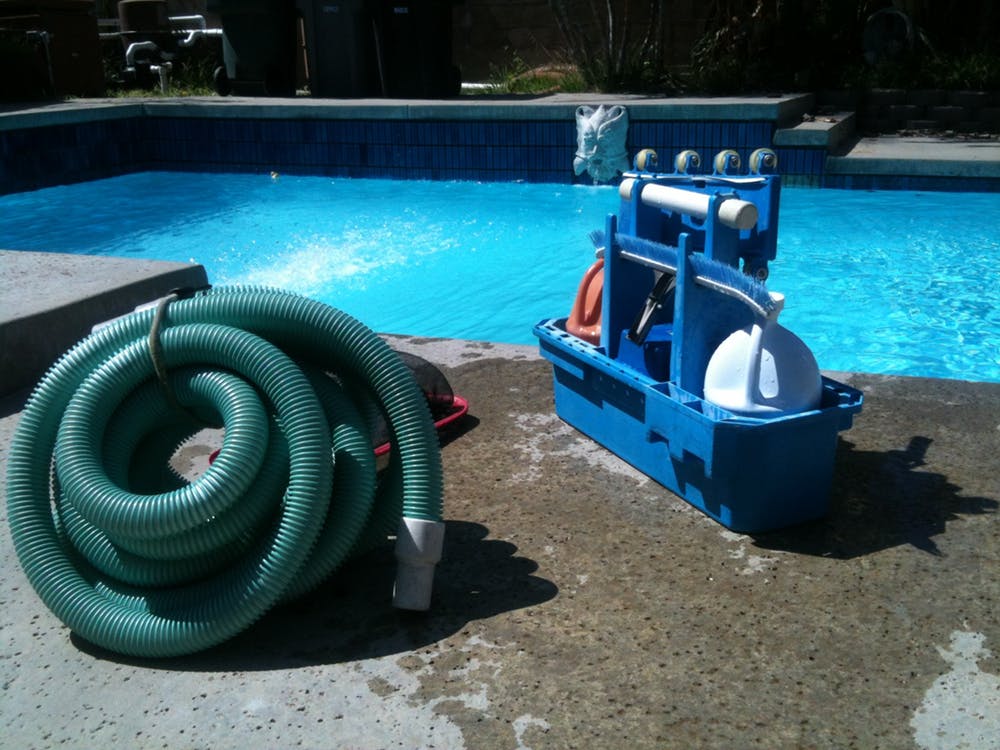


At this point, you’ve tested your pool heater and filter system.
But when’s the last time you checked the equipment that YOU use to clean the pool? Vacuum hoses can crack, skimmer nets can tear, and poles can warp.
Which is why making sure everything works beforehand is always a good idea. And it’s generally the rule of thumb to follow when you’re prepping your pool for its official opening.
Go through the pool maintenance equipment list below, and inspect each item for damage and missing parts:
- Pool vacuum
- Pool vacuum hose
- Telescopic pole
- Skimmer pole attachment
- Brush pole attachment
- Pool water test kit
Test your water
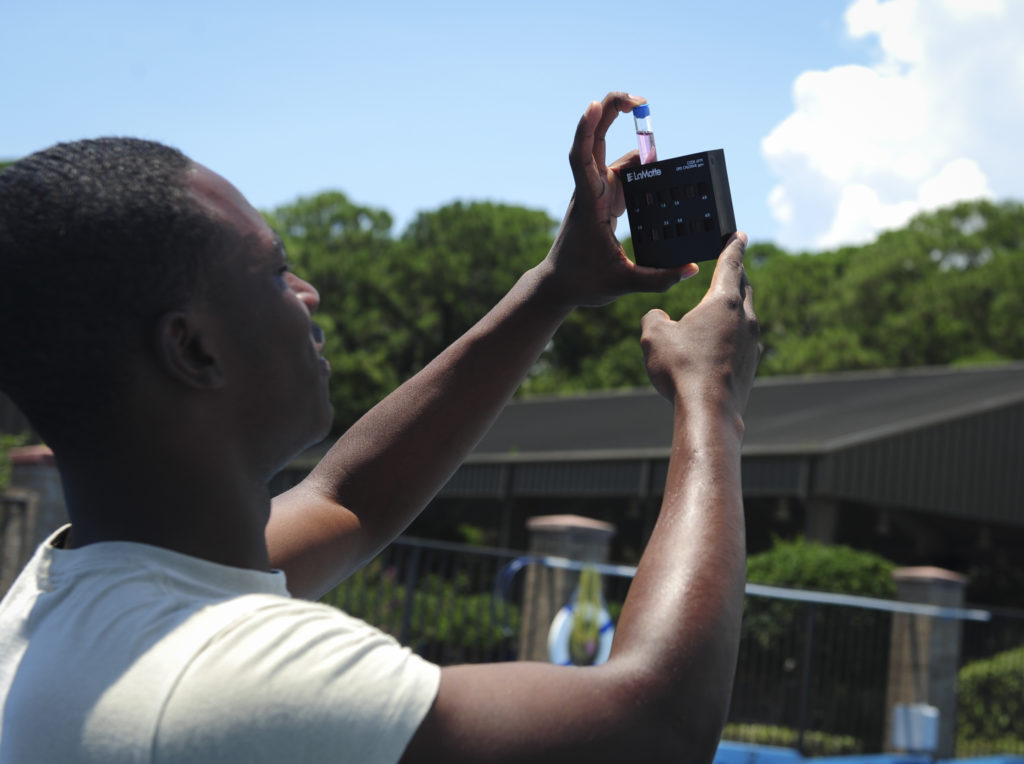


This might just be THE most helpful thing you do before opening your swimming pool.
After months of sitting unattended, your pool chemistry definitely fluctuated a bit, to say the least. Which means you’ll have to balance the water before you start swimming again.
But as you know, this is normal. So why not take a shortcut to save some time?
If you test your water now, you’ll know exactly which chemicals to buy later.
So while your equipment runs in the background, grab your test kit and a sample of water.
With your pool water test kit, test for:
- Total Alkalinity
- Ideal range: 80 – 120 ppm
- pH
- Ideal range: 7.4 – 7.6
- Calcium Hardness
- Ideal range: 200 – 400 ppm
- Chlorine
- Ideal range: 3 ppm
- Total Dissolved Solids
- Ideal range: Less than 2,000 ppm
Related: Balance Your Pool Water in 7 Easy Steps
Stock up on the pool chemicals
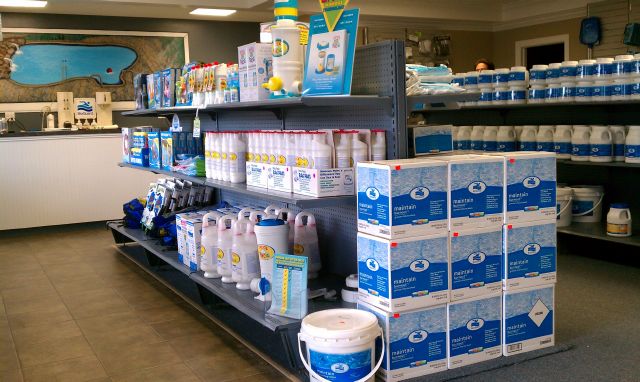


After testing your water, you’ll know exactly which chemicals you’re going to need. So head to your local pool supply store and grab them now.
You’d be surprised how much more pleasant this process is when it’s not during the hottest days of summer. You don’t have to worry about products being out of stock from high demand. Plus, the prices are usually much cheaper during offseason.
Here’s a list of all the chemicals you’ll need:
- For increasing Total Alkalinity
- Sodium bicarbonate OR baking soda
- For decreasing Total Alkalinity
- Dry acid OR muriatic acid
- For increasing PH
- Soda ash (sodium carbonate)
- For decreasing PH
- Sodium bisulfate or muriatic acid
- For increasing Calcium Hardness
- Calcium chloride
- For decreasing Calcium Hardness
- Partially drain your pool and replace the water (repeat process to lower)
- Use a flocculant to collect and vacuum visible calcium
Inspect and clean the deck area
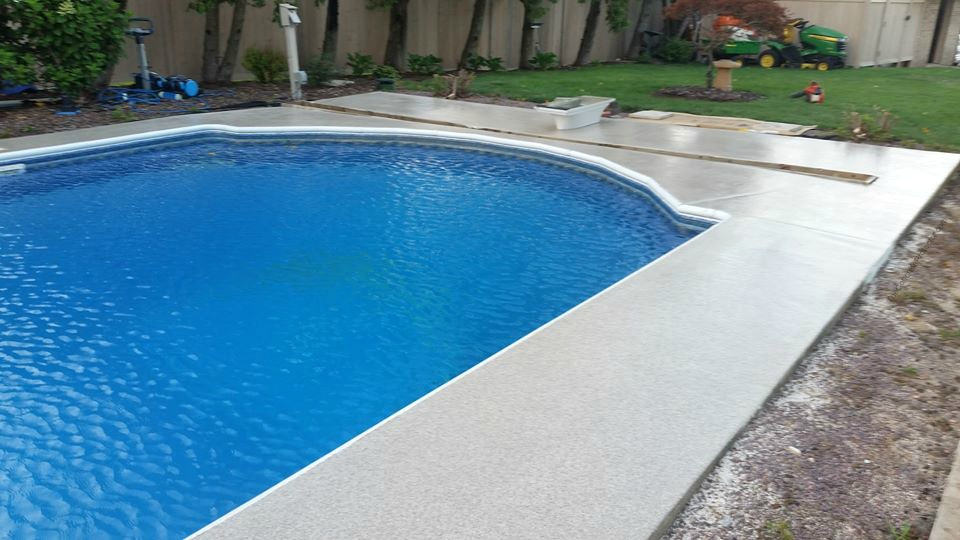


So far, all attention has been on the pool and pool system. But what about the pool deck?
It gets just as much foot traffic as your pool, if not more. So why not give it the same kind of attention?
Here’s what you can do to keep your pool deck in tip-top shape:
- Look for any cracks or movement in the decking.
- If you come across any cracks, follow the steps in this post to fix them.
- Locate any deep stains or discoloration
- Search for bugs and wasp nests
- Here’s how to safely remove wasps and bees naturally
- Check the condition of your patio/pool furniture
Chances are, there are a bunch of leaves and twigs scattered across deck right now too. Doesn’t nature have a nice way of letting you know it passed through?
Well don’t worry, tidying up won’t take too long.
To clean your pool deck:
- Grab a broom and sweep the deck
- Make a deck cleaning solution
- Use a hard bristle brush to clean the deck section by section with the solution
- Rinse off the deck with water
Related: How To Clean Your Pool Deck
If you can see into your pool…….
Check the pool walls and floors
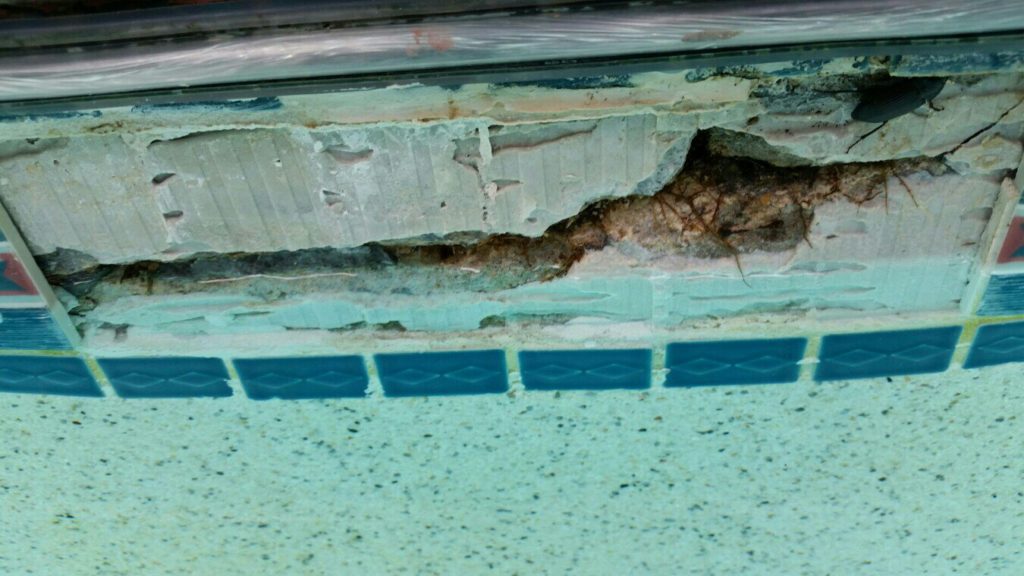


If your water is clear enough to see into, take a quick look at the pool walls. If you’re not ready to remove the cover, skip over this step.
The point of doing this is to find any new cracks that may have formed in the wall while the pool was closed. Because it’s better to find them now and plan to fix them, then to deal with them later.
If you find any cracks or notice any odd stains, make a note of them.
Get in contact with your local pool repair company to get the cracks repaired.
For stains, refer to this pool stain removal guide.
Clean off the cover
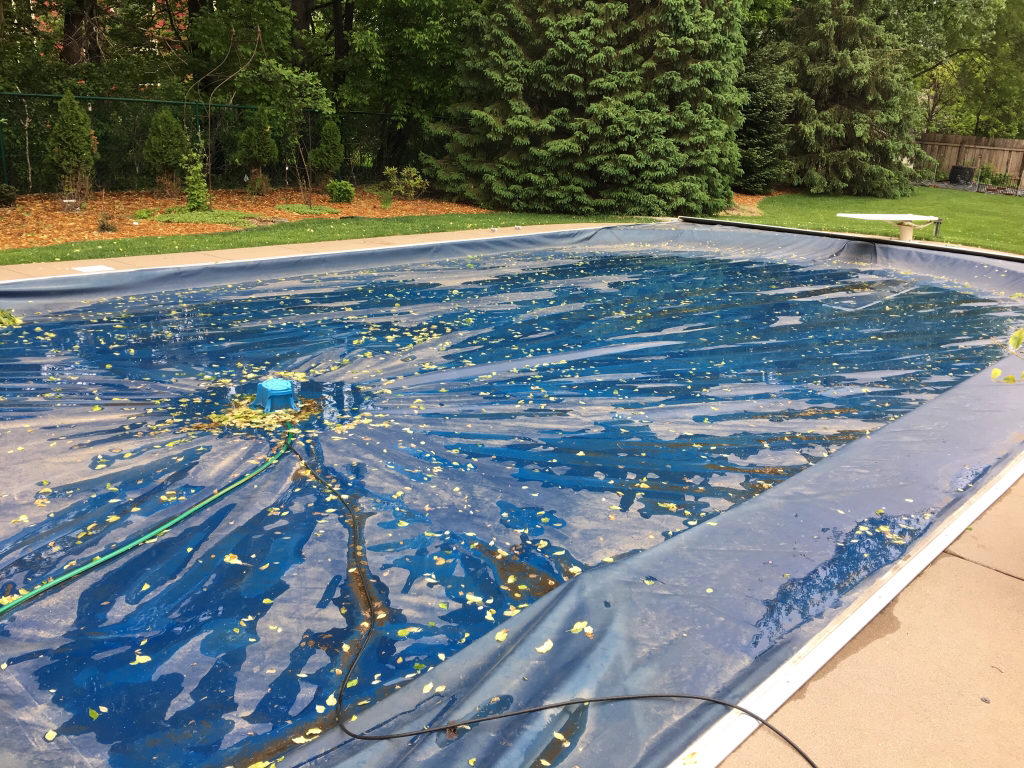


The goal here is to get the cover ready to be removed, not to actually remove it.
So all you really need is a broom and leaf blower. Both of which you can use to clean off the cover.
To quickly clean your cover:
- Use a leaf blower to move the leaves to one area
- Sweep the leaves into a bag as they get closer to the edge of the pool
- Brush off the remaining leaves with your broom
If you use a solid cover and there’s a puddle of water in the middle, use a submersible pump to drain the cover first. Let it dry first, then go about cleaning it.
Restore the water level
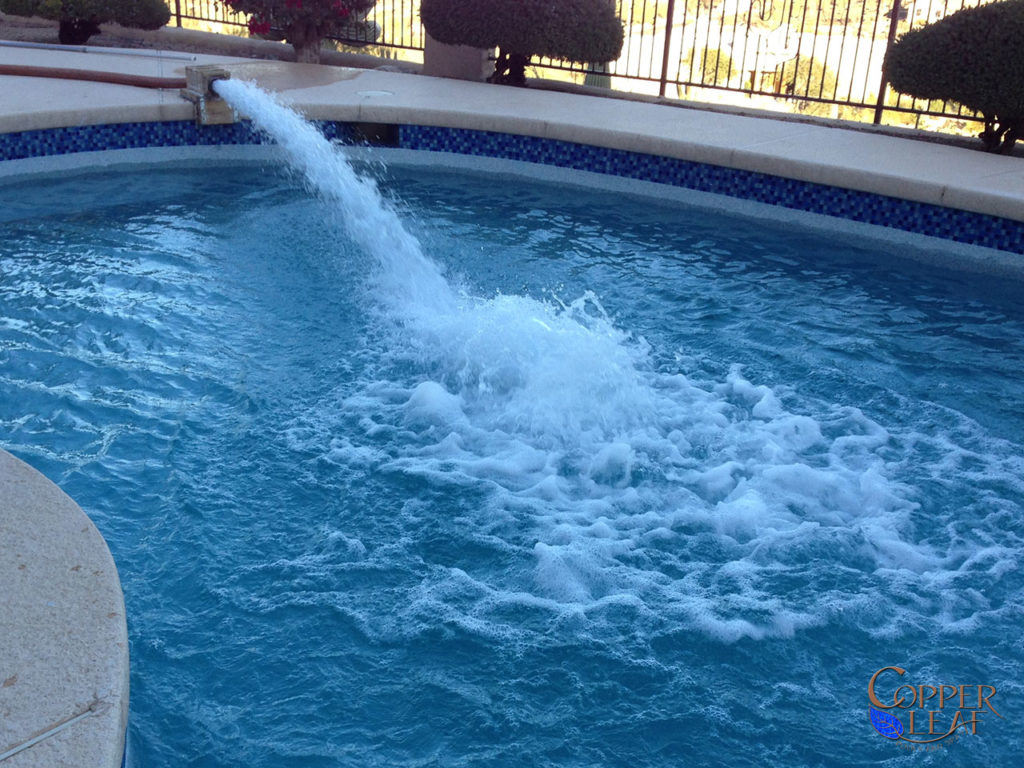


Depending on how you closed your pool, you might not have to restore the water level.
But odds are, even if you did close your pool, evaporation and heat probably took its toll on your water.
To fix this, grab a garden hose and refill the pool up to mid skimmer level.
And that’s it, you’re done. Wasn’t that easy?
What’s next?
Well now that you’ve prepped your pool for swim season, the next step is opening it. But this time around, you’ll notice how much faster you get that done. And all of the work you did today will feel even more worthwhile.
Check out these posts next:
- Open Your Swimming Pool Faster With This Checklist
- How To Open Your Pool Without Chlorine
- 21 Pool Opening Mistakes To Avoid

