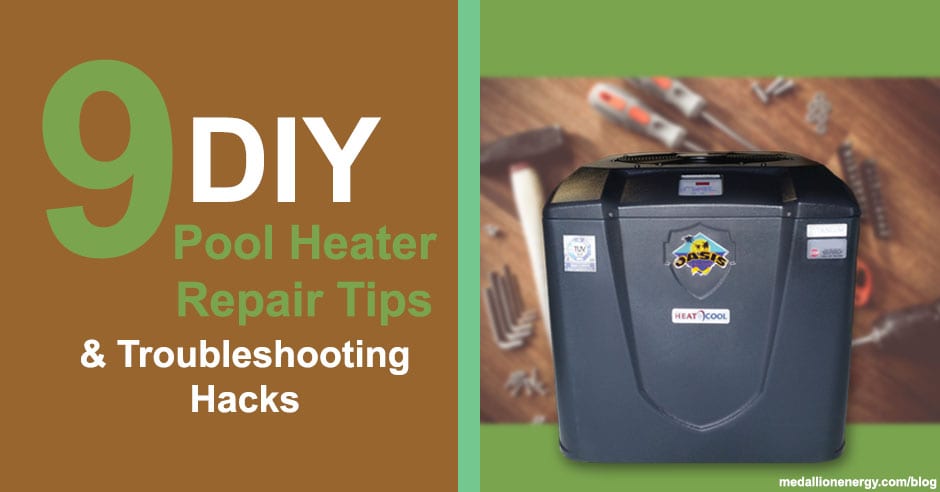
Trying to fix your pool heater? Use these DIY pool heater repair tips to get the job done
These days, it’s all about do-it-yourself, or DIY. The everyday pool owner understands the power of good research. And with the help of the internet, the skills needed to handle basic pool heater repair jobs can be learned.
The problem is, where do you start?
Finding reliable information on the internet isn’t always easy. What if you can’t find help on the problem you’re facing. Or what if you aren’t sure which part needs replacement?
Well, the good news is that you can find plenty of useful DIY pool heater repair tips and troubleshooting hacks right here. These are simple, yet effective tips that can save you hours of research, and likely, a bunch of money.
Does that sound too good to be true? If it does, keep reading — you’ll be surprised by how many of your questions are answered in this post.
9 DIY Pool Heater Repair Tips & Troubleshooting Hacks
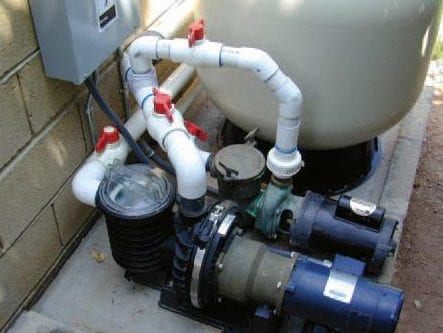


1.) If your pool heater won’t turn on, check the power, then water
A pool heater that won’t turn can only mean a few things:
- Damaged or weak electrical connection: check that your pump is receiving enough power from the breaker, and inspect the unit for damaged wiring
- Low water flow: clear out any blockage in your filter, pump, and skimmer baskets. Check that pump is sending a steady supply of water
- Water not detected: if power and water flow aren’t an issue, the water pressure switch in your pool heater may be dirty or defective
2.) If your pool heater keeps shutting off, check the water supply, then power
When pool heaters power on but keep shutting off, they’re likely experiencing a water pressure issue.
First, check for any error codes being displayed that include the text “FLO”, “FL”, or “LO/HI”. These codes indicate an issue with water flow detection.
To fix these issues, ensure blockage-free water flow (see the previous tip), then move on to replacing the water pressure switch.
If the pump shuts off without displaying any error codes, then the issue is likely related to power. Inspect the wiring leading from the pump to breaker for damage.
Also, check the connection terminals on the heat pump for any corrosion damage or build up. To clean corrosion, power down the pump at the breaker and scrub the corrosion off with a metal brush.
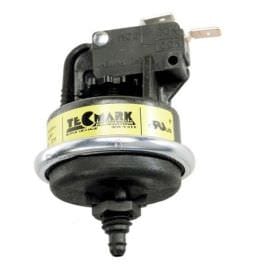


3.) If the pump is receiving water but not detecting it, a pressure switch needs replacement
If you’ve already tried the above DIY pool heater troubleshooting tips, then most water detection issues point to a defective pressure switch. The simplest fix is replacing the pressure switch, which you can find professional guidance for here.
4.) A pool heat pump that runs but doesn’t heat usually means it’s too cold
Check that your pool heat pump is:
- Receiving enough water
- Receiving enough power
- Set to a temperature higher than your pool
If your pump meets all three requirements, then chances are it’s simply too cold for your pool heat pump. Although certain heat pumps offer low-temperature performance down to 30 degrees, most units lose their effectiveness around the 50s.
So if it’s not at least 60 degrees, most heat pumps won’t be able to generate the heat needed to warm your pool.
Using a solar cover is a great fix for this common problem, as it helps drastically reduce the heat loss most pools experience during colder weather. In turn, the improved heat retention gained from a solar cover helps boost the efficiency of a pool heat pump significantly.



5.) Your pool heat pump isn’t leaking, it’s sweating
You walk out to your backyard and see a puddle around the base of your pool heat pump. What could have caused a leak like that?
Odds are, what you’re seeing isn’t a leak, but rather the natural condensation that a heat pump produces. Specifically, condensation created by the short defrost cycles your pool heat pump goes through every day.
Each defrost produces a small amount of water, but depending on how long the unit needs the defrost, their may be more or less water than usual.
That said, there are rare occasions when a pool heat pump can leak water. And the easiest way to find the source of a leak is to test the water being leaked. If it tests positive for chlorine content, it’s a real leak. If not, it’s just condensation.
You can find instructions for testing pool heater leaks in this post: Basic Pool Heat Pump Troubleshooting
6.) Avoid tampering with pool heater refrigeration components
With a bit of professional guidance, pool owners can handle a good amount of pool heater repair jobs themselves.
But if there’s one job that should definitely be left to the pros, it’s any job that involves refrigeration.
Since a pool heat pump’s heating process is heavily powered by natural heat and refrigerant, having working refrigerant components at all times is crucial.
But working with refrigerants is tricky. The parts are delicate, and often under a lot of pressure. This, of course, makes them dangerous to work with.
So when a refrigeration issue pops up, quickly seek the help of a pool heat pump repair technician to solve it.
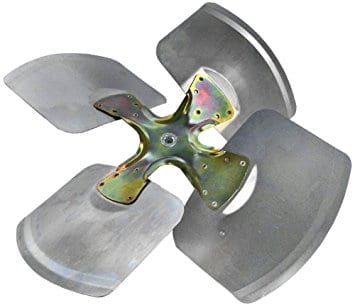


7.) Confirm compatibility before ordering replacement pool heater parts
For pool owners who are ready for DIY pool heater repair, this is the most important tip of all.
Although you may be able to save some money by ordering a generic replacement part online, the damage that using those parts can cause often outweighs the savings.
Why is this?
It’s because pool heat pumps are made to extremely precise specifications. Small differences in the weight, design, and material of a part can alter the expected performance of your heater drastically.
Often times, using generic parts ends up wearing down the pool heater faster than intended.
This is why confirming true pool heater part compatibility is essential for any DIY pool heater repair job. Just a because a part fits your unit, doesn’t mean it’s right for it.
So what can you do to make sure you order the right parts. Well, before clicking “Checkout”, call a pool heating specialist and have them confirm the part for you. Their experience combined with in depth industry knowledge means that you’ll have the exact part you need, when you need it.
8.) Look up what the pool heater error codes mean (right here)
This one seems like a no brainer, but often, many of us toss aside the manual. You know, the manual that has the index full of error codes that explain what causes each one to appear.
If that sounds like you, don’t worry, we have a solution. We’ve compiled a list of all the common pool heat pump troubleshooting codes by brand.
Choose your pool heater brand below
- AquaCal heat pump troubleshooting codes
- AquaComfort heat pump troubleshooting codes
- Hayward heat pump troubleshooting codes
- Heat Siphon heat pump troubleshooting codes
- Pentair heat pump troubleshooting codes
- Sunrunner heat pump troubleshooting codes
If you can’t find your brand, send us a message and we’ll help you find the resources you need.
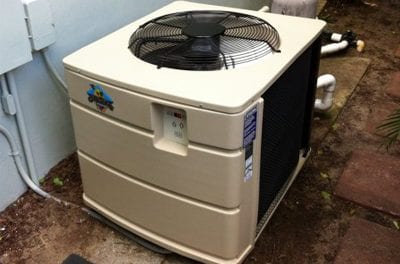


9.) Cut down on repairs with good maintenance
What’s the difference between the person who regularly services their brand new car, versus the person who doesn’t even keep up with oil changes?
Along the road, one of those people is spending much more on repairs than the other. Usually, unexpected repairs at that.
Can you guess which person saves the most money?
This same concept applies to your pool equipment, and especially your pool heat pump.
Good pool heat pump maintenance can easily double the lifespan of your pool heater. It’s all about fixing the small issues as they come up to prevent the big issues from ever happening.
Ideally, an annual service call is the best way to keep your heat pump in tip top shape. It’s like bringing your car in for a tune up. You get all the essentials checked and the important parts tested and cleaned.
[To learn more, check out Why Pool Heat Pump Maintenance Is Essential]
Closing thoughts
Use the pool heater repair tips you read in this guide next time you’re troubleshooting your pool heater. Not only will you save time, but you’ll also discover that many pool heating problems can be avoided entirely — it all begins and ends with good maintenance.
On that note, if you found this post helpful, you might also like:

